Diving into the world of homemade hair care, few ventures are as rewarding as mastering the art of cold process soap making. With hair care enthusiasts increasingly seeking natural and organic options, the ability to create your own cold process soap with lye stands out as an essential skill for the DIY aficionado.
Understanding the basic chemistry of soap making, especially when lye is involved, can be daunting. However, we are here to break down this process into simple, manageable steps guaranteed to help you craft an exceptional product. Embrace the journey of creating soaps that not only cleanse but also nourish the hair and skin, providing a tailored experience that commercial products rarely offer.
Now, let's embark on this transformation from novice to skilled soap artisan, ensuring your home-made bars become the crowning glory of your hair care regime.
The Magic Behind Cold Process Soap Making
Cold process soap making is an ancient art, a blend of science and creativity that involves transforming oils and fats into soap and glycerin via a chemical reaction known as saponification. At the heart of this reaction lies lye, a potent alkali that, when used correctly, makes for rich, moisturizing, and customizable soaps.
Understanding the Role of Lye
Lye, also known as sodium hydroxide (NaOH), is a caustic material crucial in the soap making process. Without lye, saponification cannot occur, and soap cannot form. But fear not – no lye remains in the finished product when measured and mixed correctly.
- Protective gear is paramount when handling lye.
- Always add lye to water, never the reverse.
- Ventilation is necessary to avoid inhaling fumes.
The Basics of Saponification
The key to harnessing the benefits of saponification is patience and precision. Saponification is the transformative process where lye interacts with oils, turning them into soap. It requires:
- Precise measurements of lye and oils.
- Correct temperatures of both mixtures.
- Adequate mixing to achieve “trace,” the thickening of the soap mixture.
Selecting Your Ingredients
Choosing Oils and Butters
When creating cold process soap for hair care, selecting the right combination of oils and butters is crucial. Each oil brings unique properties to the final product.
- Coconut oil: Provides deep cleansing and bubbly lather.
- Olive oil: Known for its gentle, nourishing qualities.
- Shea butter: Offers a luxurious, conditioning feel.
- Castor oil: Boosts lather and hydrates the scalp.
You may also want to explore other oils like jojoba or argan oil for their hair-enhancing properties.
Essential Oils and Additives
To add beneficial properties and delightful scents to your soap, consider incorporating:
- Lavender essential oil for a relaxing experience.
- Rosemary essential oil to potentially help with scalp circulation.
- Peppermint essential oil for a refreshing zing.
Additives like clays or herbal infusions can enhance hair care qualities by providing a gentle exfoliation and additional nutrients.
Crafting Your Cold Process Soap: Step by Step
Preparing Your Workspace and Gear
- Work in a well-ventilated area.
- Wear protective gear, such as gloves and goggles.
- Have all ingredients and tools at hand.
Mixing Lye Solution
- Slowly and carefully, add the lye to the water—never the other way around—to avoid a volatile reaction.
- Stir until clear and set aside to cool.
Important Safety Precautions
Before moving on, let's reiterate some crucial safety precautions:
- Keep vinegar nearby to neutralize any lye spills.
- Ensure no pets or children can access your workspace.
- Never leave your lye unattended.
Melting and Combining Oils
Heat your oils and butters gently until fully melted. A thermometer is vital to monitor the temperature, aiming to align it with the cooling lye solution.
Achieving Trace
Once your oils and lye solution are within similar temperature ranges, combine them slowly, blending until the mixture reaches a pudding-like consistency. This stage is referred to as trace and marks the beginning of saponification.
Adding Your Personal Touch
At a light trace, it's time to add your personal flair. Incorporate essential oils, colorants, or exfoliants—remembering that natural ingredients are best for hair care.
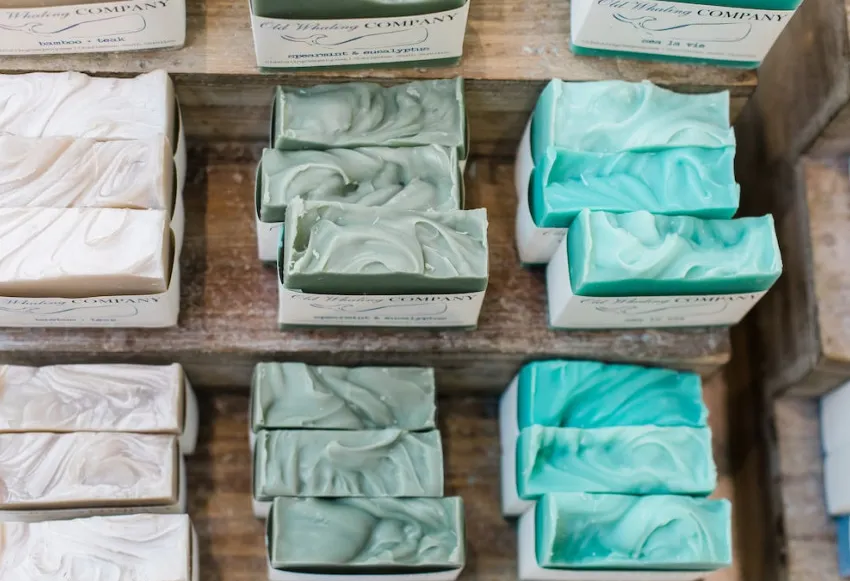
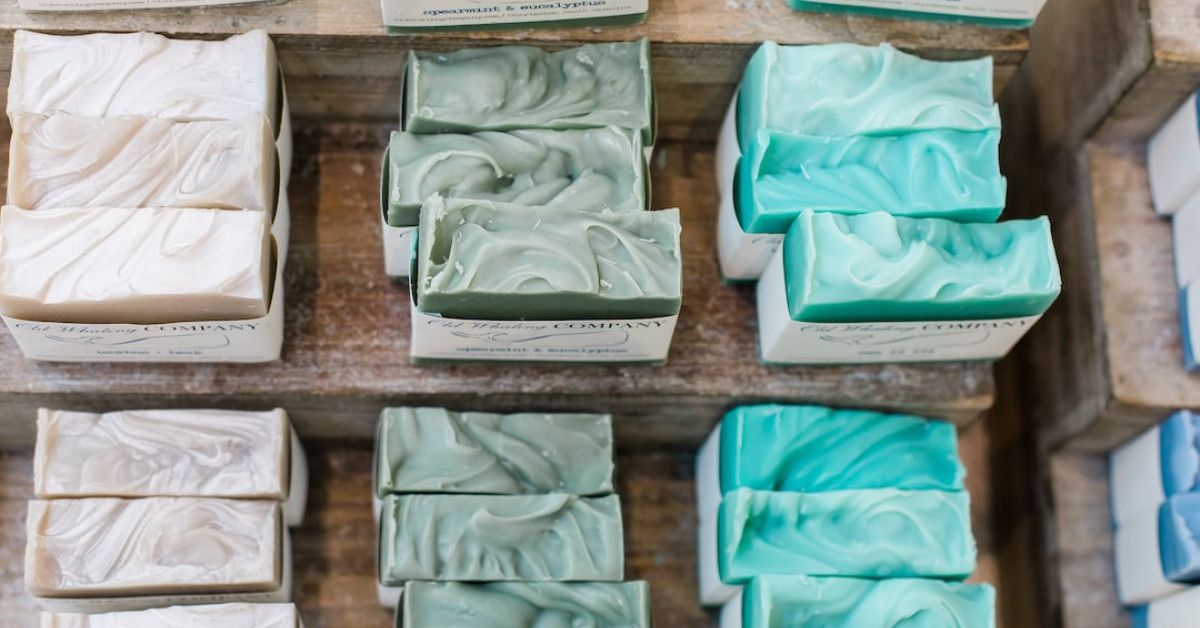
Molding and Curing
Pour the soap into a mold and cover it with a cloth. After 24-48 hours, remove from the mold and cut it into bars. The soap must then cure for 4-6 weeks to allow excess water to evaporate and the saponification process to complete.
Cutting to Perfection
- Use a sharp knife or soap cutter for even bars.
- Smooth edges for a polished look.
Troubleshooting Common Issues in Soap Making
The Dreaded Soap Volcano
This is a heat-related reaction that can occur if saponification becomes too aggressive. To avoid this:
- Keep an eye on the temperature of your ingredients.
- Do not insulate the soap too much after pouring it into molds.
Avoiding Soda Ash
A thin, white layer known as soda ash may form on soap bars during curing. While harmless, it can be aesthetically displeasing. Spraying the top of your poured soap with high-proof alcohol can help prevent this.
Handling Separation and Ricing
If your mixture begins to separate or looks grainy (also known as ricing), quickly blend it back to the desired consistency. This can often be caused by fragrances or additives that react unpredictably. Patience and swift action are key.
A Comparison Chart for Hair-Care Oil Properties
| Oil/Butter | Cleansing | Moisturizing | Conditioning | Best for Hair Type |
|---|---|---|---|---|
| Coconut Oil | High | Low | Low | Oily to Normal |
| Olive Oil | Low | High | Medium | Dry to Normal |
| Shea Butter | Low | High | High | Dry and Damaged |
| Castor Oil | Medium | High | High | All Types |
Final Thoughts and Best Practices
Delving into homemade hair care via cold process soap making with lye empowers you with the ability to customize a key part of your beauty routine. Not only does it offer you the chance to handpick ingredients that complement your hair type, but you also create a product free from harsh chemicals and preservatives found in commercial soaps.
Remember these final tips for a stellar soap:
- Be patient: Soap making is an art that improves with practice.
- Experiment: Find the perfect blend of oils for your hair type.
- Stay natural: Opt for the freshest, most organic ingredients for the best hair care results.
- Keep learning: The world of soap making is vast, with plenty of techniques and styles to explore.
Embrace the process, enjoy the journey, and revel in the satisfaction of using a product made by your own hands, tailored for your hair care needs.